
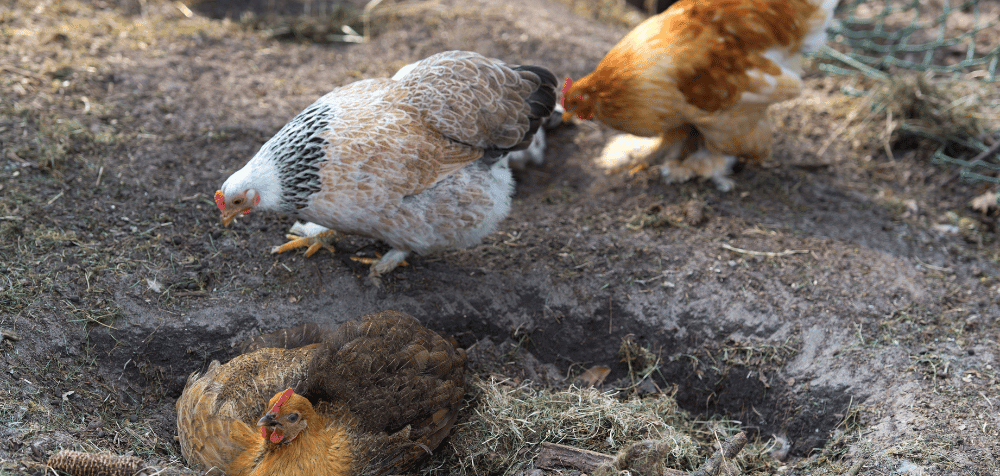
A chicken dust bath is the ultimate spa treatment for chickens. Not only does it help to keep their feathers free of parasites, but it also helps them relax and feel good.
In this guide, we’ll walk you through everything you need to know about setting up a chicken dust bath in your coop, from the materials you’ll need to why it’s crucial for your flock’s health.
Why Your Chickens Need a Dust Bath
Before diving into the setup, let’s talk about why a chicken dust bath is so important. When chickens roll around in dust, the particles absorb excess oil from their feathers and skin.
This helps to keep their plumage clean and free of pests like mites and lice. Dust baths are also a social activity for chickens, allowing them to bond and reduce stress.
Here are a few key reasons to include a dust bath in your coop:
- Pest Control: Dust clogs the breathing pores of mites and lice, reducing infestations.
- Oil Control: Helps remove excess oils from feathers, keeping them light and airy.
- Mental Well-being: Dust baths are fun for chickens and help reduce boredom, which can lead to unhealthy behaviors.
- Feather Maintenance: Clean feathers are essential for insulation and flight.
Choosing the Right Spot for a Chicken Dust Bath
The first thing to do when setting up a chicken dust bath is to choose the best spot. Chickens are creatures of habit, and they’ll be using the bath regularly, so it should be somewhere convenient and accessible.
Ideal Placement for Your Dust Bath
- Dry Area: Ensure the location is dry. Wet dust won’t work as effectively, and your chickens won’t enjoy it. If you live in an area that gets a lot of rain, consider putting the dust bath undercover, like in a sheltered part of the coop.
- Sunny Spot: Chickens love warmth, so placing the dust bath in a sunny spot will encourage them to use it more frequently.
- Away from Food and Water: You don’t want dust getting into their food or water, so choose a location that’s a good distance away from their feeding area.
Materials You Need for the Perfect Chicken Dust Bath
Once you’ve got the right spot, the next step is gathering the right materials. Chickens don’t need anything fancy, but the type of dust and bath area you provide can make a big difference in their experience.
Basic Components for a Chicken Dust Bath
Here’s a list of materials you’ll need:
- Container: You need something to contain the dust bath material. This could be as simple as a plastic bin, an old tire, or a wooden box. Just make sure it’s large enough for a chicken to comfortably roll around in.
- Sand: Sand is one of the main ingredients for a good chicken dust bath. It’s fine enough to filter through feathers but heavy enough to stay in place.
- Dirt or Soil: Regular garden soil can be mixed with sand. Make sure it’s free from any chemicals, pesticides, or fertilizers.
- Wood Ash: Ash from a fireplace (as long as it’s untreated wood) is great for keeping pests at bay. Ash dries up oils and works its way into the feathers to suffocate mites.
- Diatomaceous Earth (optional): This natural powder helps kill parasites, but be careful with it. Only food-grade diatomaceous earth should be used in small amounts because it can irritate the chickens’ respiratory systems if too much dust is stirred up.
Optional Extras
- Herbs: You can add dried herbs like lavender or mint to the dust bath. These help to repel insects and can also have a calming effect on your chickens.
- Play Sand: While regular sand is fine, some people prefer to use play sand as it’s cleaner and free from debris.
How to Set Up the Chicken Dust Bath
Now that you have your materials, it’s time to set everything up. Setting up the dust bath is easy and can be done in just a few steps.
Step-by-Step Guide
- Prepare the Container: If you’re using a box, bin, or any kind of container, make sure it’s large enough for a few chickens to use at once. You don’t want them fighting over dust bath time! A good size is about 2-3 feet wide and at least 6 inches deep.
- Add the Base Layer: Start by filling the container halfway with sand. Sand will be the base of your dust bath, providing the right texture for your chickens to kick around and dig into.
- Mix in the Soil: Add in the soil, about equal parts to the sand. You can stir the mix around to make sure it’s well blended. The soil adds weight and texture to the dust bath.
- Sprinkle Wood Ash: Next, sprinkle a layer of wood ash over the top. This will help with pest control and add a nice, fine texture that chickens love to roll in.
- Optional: Add Diatomaceous Earth: If you’re using diatomaceous earth, now is the time to add a small amount. Only sprinkle a thin layer on top and mix it in well. Be cautious not to use too much.
- Toss in Some Herbs: If you’re adding herbs, go ahead and sprinkle them over the top. They’ll add a pleasant scent and help keep insects away from your chickens.
- Final Check: Ensure the container is stable, and the dust mixture is soft and fluffy. Your chickens should be able to kick it up easily when they bathe.
Maintaining the Dust Bath
Once your chicken dust bath is set up, you’ll want to maintain it so that your chickens keep using it. Dust baths can get dirty over time, and chickens might poop in them or kick out too much material.
Here are a few maintenance tips:
- Top It Off: Every week or so, check the dust bath and top it off with fresh sand or soil if it’s getting low.
- Clean Out Debris: If you notice poop or lots of feathers in the dust bath, scoop it out with a small rake or shovel.
- Keep It Dry: If your dust bath gets wet, you’ll need to dry it out. Either place it in the sun or add more dry sand and soil to absorb the moisture.
Signs That Your Chicken Dust Bath Is Working
So how do you know if your chickens are enjoying their new dust bath? There are a few telltale signs to look out for:
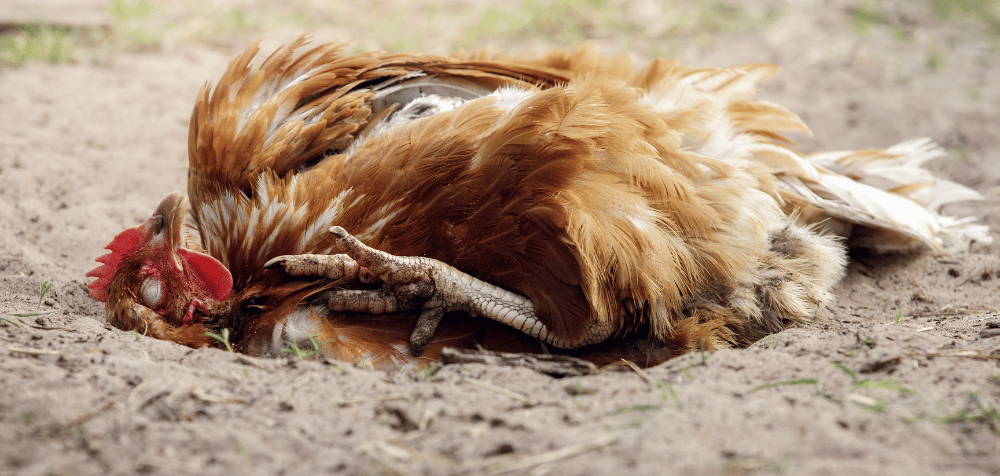
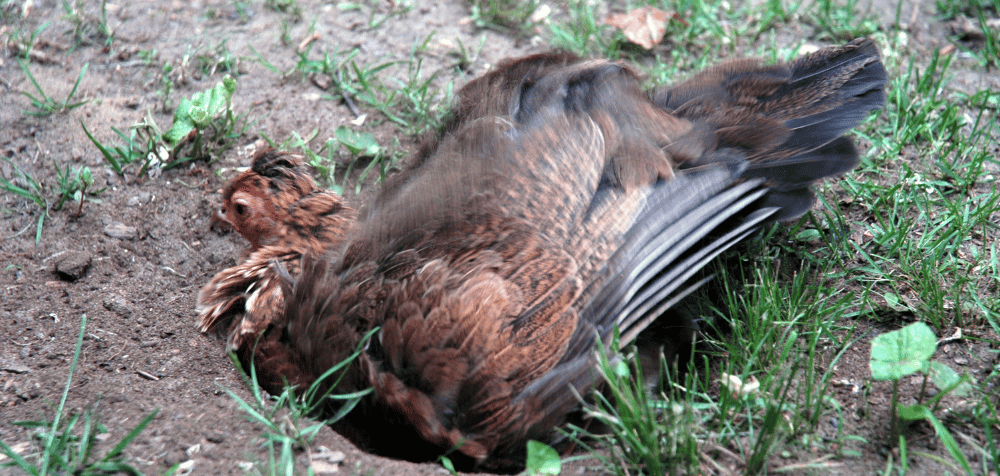
- Regular Use: Chickens will begin using the dust bath daily, especially in the warmer months when they’re more active.
- Fluffing Feathers: After a good bath, chickens will stand up, shake off the dust, and fluff their feathers to get them back into shape.
- Reduced Pests: If you notice fewer mites and lice, that’s a good sign that your dust bath is doing its job.
Final Thoughts
Setting up a chicken dust bath is one of the simplest yet most effective things you can do for your flock’s health and happiness. By providing a well-maintained dust bath area, you’ll not only keep pests away but also give your chickens a place to unwind and bond.
With just a few basic materials and some regular upkeep, your chickens will have a dedicated space for their spa days.