
When the temperatures drop, your chickens will need extra protection from the cold. One of the most crucial ways to ensure their comfort and well-being is by adding proper chicken coop insulation.
Many first-time chicken owners underestimate the importance of insulation, but it plays a key role in keeping your flock happy and healthy year-round.
The good news is that insulating your chicken coop doesn’t have to break the bank. With a few affordable options, you can keep your coop warm without compromising your budget.
In this blog, I’ll cover why chicken coop insulation is so important, affordable insulation ideas, and tips for installing insulation in your coop.
Why Chicken Coop Insulation is Important
When it comes to raising chickens, maintaining a stable temperature inside the coop is essential. Chickens are relatively hardy animals, but they are not immune to extreme temperatures.
Proper chicken coop insulation helps regulate the temperature inside the coop, preventing it from getting too cold in the winter or too hot in the summer.
The Key Benefits of Chicken Coop Insulation:
- Prevents frostbite and illness: Cold weather can lead to frostbite on your chickens’ combs and wattles. Insulation helps maintain a warmer environment, reducing the risk.
- Keeps the coop dry: Insulation can help prevent condensation from forming inside the coop, keeping the space dry and reducing the risk of respiratory illnesses in your flock.
- Improves egg production: Extreme temperatures can disrupt a hen’s egg-laying cycle. Keeping the temperature stable encourages hens to lay consistently.
By investing in good-quality insulation, you’re essentially giving your chickens a comfortable living environment that supports their health and productivity.
Affordable Chicken Coop Insulation Options
One of the best things about insulating a chicken coop is that you don’t need to spend a fortune. There are plenty of affordable insulation materials you can use that are effective and easy to install.
1. Straw or Hay
One of the most common and affordable options for chicken coop insulation is using straw or hay. It’s not only a cost-effective solution but also an excellent natural insulator. You can layer straw along the walls and floors of the coop to trap heat and create a cozy environment for your chickens.
- Pros: Inexpensive, biodegradable, easy to source.
- Cons: Needs to be replaced regularly, can attract pests if not maintained.
2. Reflective Foil Insulation
Reflective foil insulation, such as the type used for garages or attics, is another budget-friendly option. This type of insulation is designed to reflect heat, which is perfect for keeping warmth inside the coop during winter months. Plus, it’s super easy to install by stapling or attaching it to the inside walls.
- Pros: Easy to install, durable, reflects heat efficiently.
- Cons: Doesn’t provide significant insulation on its own, best used in combination with other materials.
3. Foam Boards
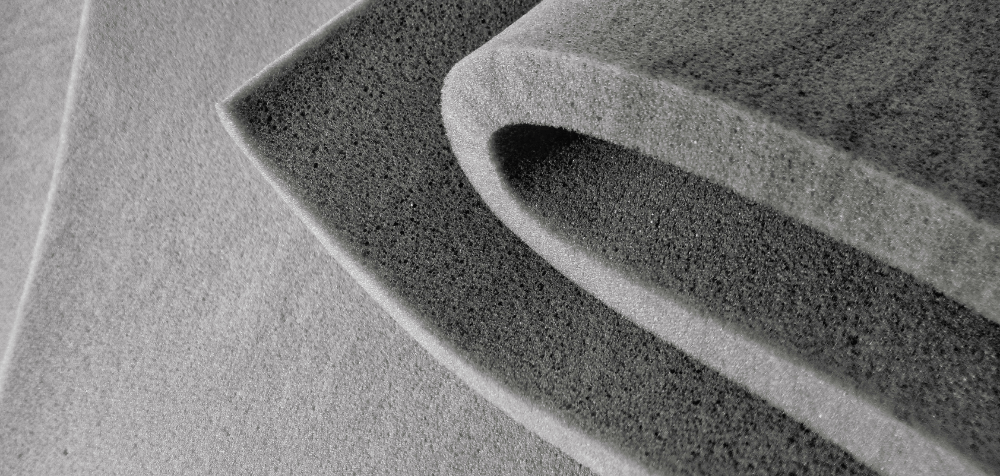
Foam board insulation is one of the most effective ways to insulate your chicken coop. Foam boards are relatively affordable, and they provide excellent thermal insulation. You can find foam boards at your local hardware store, and they’re simple to cut and fit into the walls of your coop.
- Pros: Excellent insulation, moisture-resistant, long-lasting.
- Cons: May need to cover with plywood or another material to prevent chickens from pecking at it.
4. Recycled Materials
If you’re into DIY projects and eco-friendly solutions, using recycled materials like old blankets, curtains, or carpet remnants can be an effective and budget-conscious option. These materials can be attached to the walls or hung inside the coop to help retain heat.
- Pros: Environmentally friendly, virtually free.
- Cons: Can be difficult to attach securely, may need to be replaced regularly.
5. Bubble Wrap
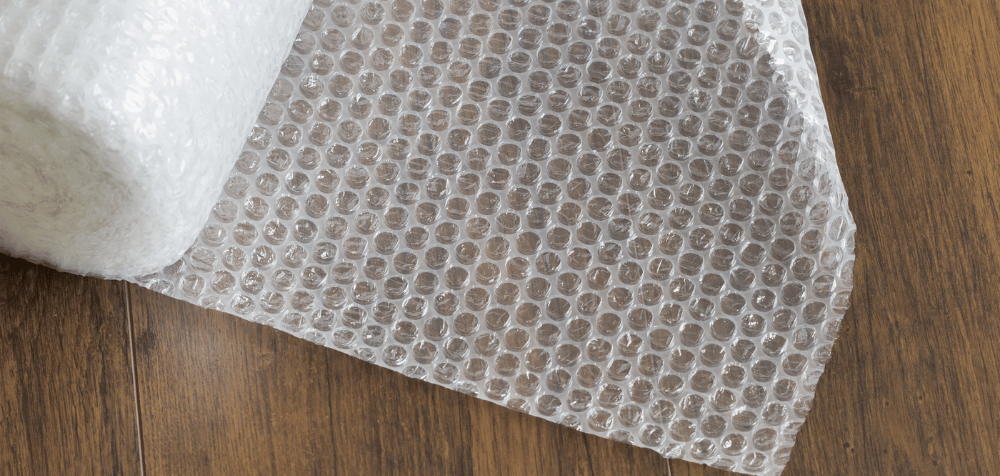
Believe it or not, bubble wrap can be a quick and easy fix for insulating smaller chicken coops. This lightweight material traps air, which acts as a natural insulator. While it’s not the most durable option, it can serve as a temporary insulation solution during cold spells.
- Pros: Cheap, easy to find, simple to install.
- Cons: Not very durable, may need to be replaced frequently.
How to Install Chicken Coop Insulation
Installing chicken coop insulation is a straightforward process that doesn’t require much technical expertise. However, there are some important things to keep in mind to ensure it’s done right and provides the maximum benefit for your chickens.
Step-by-Step Guide to Insulating Your Coop:
- Assess Your Coop’s Structure: Before you start insulating, check for any drafts or cracks in the walls and windows. Seal these gaps with caulk or weatherstripping to prevent cold air from entering.
- Choose Your Insulation Material: Pick one or a combination of the insulation options mentioned above that best suit your budget and the size of your coop.
- Install Insulation on Walls: If you’re using foam boards, straw, or reflective foil, start by securing the insulation material to the interior walls of the coop. Use staples, nails, or adhesive to attach it firmly.
- Insulate the Roof: The roof is one of the most important areas to insulate because heat rises. Make sure to add insulation to the ceiling of the coop to prevent heat from escaping.
- Floor Insulation (Optional): If you live in an area with extreme cold, you may also want to insulate the floor of the coop. Straw or foam boards can be placed on the floor for added warmth.
- Ventilation Is Key: While insulation is important, don’t forget to maintain proper ventilation. Chickens produce moisture as they breathe, and without adequate airflow, moisture can build up and cause dampness inside the coop. Make sure to leave some vents or windows open, even during the winter.
Additional Tips for Keeping Your Chickens Warm
While insulation plays a significant role in keeping your chickens comfortable, there are other simple ways to maintain warmth in the coop during the colder months.
- Add extra bedding: Adding more straw or wood shavings can help insulate the floor and provide your chickens with a cozy place to nest.
- Use a heat lamp (with caution): If you live in an area with very harsh winters, a heat lamp can be a good addition. However, be cautious when using them, as they can be a fire hazard if not installed properly.
- Cover the coop: Draping a tarp or heavy-duty blanket over the outside of the coop can provide extra wind resistance and trap heat.
Conclusion
Keeping your chickens warm during the winter doesn’t have to be complicated or expensive.
By using affordable chicken coop insulation options like straw, foam boards, or even bubble wrap, you can create a comfortable environment for your chickens without breaking the bank.
Proper insulation not only helps maintain a stable temperature but also keeps your chickens healthy and productive throughout the year.
If you’re planning on building a coop or retrofitting an existing one, make sure you incorporate insulation into your design. Your chickens will thank you!