
Keeping an eye on your flock at all times can be tricky, especially if you have other responsibilities. This is where a chicken coop camera comes in handy.
A well-placed camera allows you to monitor your flock remotely, ensuring their safety and well-being without constant supervision. In this post, we’ll dive into the benefits, setup, and best practices for installing a chicken coop camera, so you can keep an eye on your feathered friends around the clock.
Why Install a Chicken Coop Camera?
A chicken coop camera is more than just a high-tech gadget; it’s a useful tool for any chicken owner. Here are a few reasons why you might want to consider adding one to your coop:
- Monitor predator activity: A chicken coop camera allows you to see if predators like raccoons, foxes, or hawks are lurking around. Catching early signs of predator activity can help you take preventative measures to secure your coop.
- Check on your chickens remotely: Whether you’re on vacation or simply inside your house, a chicken coop camera lets you check on your flock without physically being present.
- Observe behaviors and health: Chickens can be prone to pecking order disputes, illnesses, or other behaviors that are hard to catch in person. A camera gives you the ability to monitor these from a distance.
- Egg collection timing: If you’re unsure when your hens lay eggs, a camera can help you determine their daily schedule.
Choosing the Right Chicken Coop Camera
Not all cameras are created equal, so when it comes to picking the best chicken coop camera, there are a few important factors to consider:
1. Weather Resistance
Since your camera will be outside or in an area exposed to the elements, it’s crucial to choose one that can withstand weather conditions. Look for cameras that are waterproof or at least weather-resistant, especially if you live in areas with heavy rain or snow.
2. Night Vision
Chickens are most vulnerable at night when predators are most active. A camera with night vision capabilities will allow you to monitor your coop even in complete darkness, giving you peace of mind after the sun goes down.
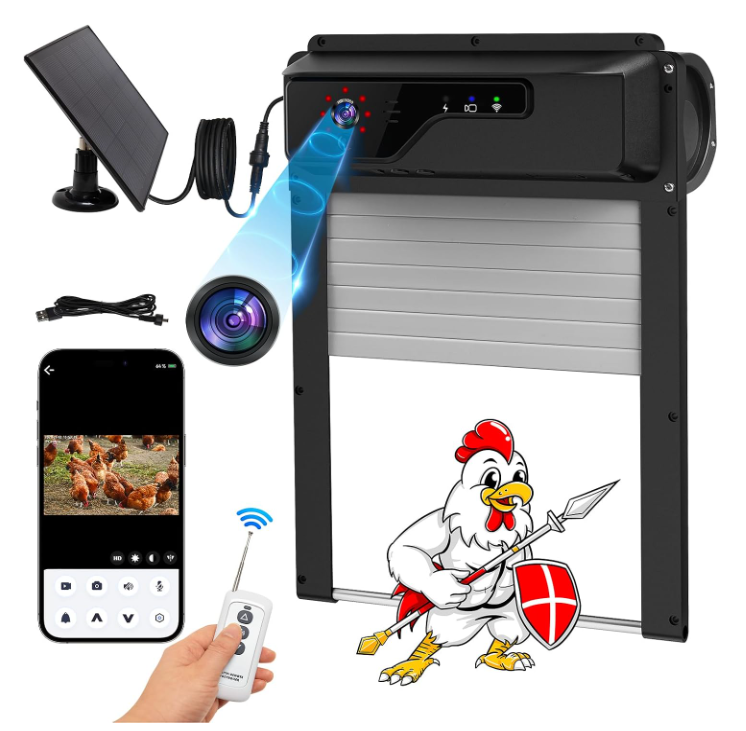
3. Wireless vs. Wired
When it comes to installation, you’ll need to decide between a wired or wireless chicken coop camera. A wired camera may provide a more stable connection, but running cables through your yard can be cumbersome. Wireless cameras are easier to install and can often connect directly to your home Wi-Fi, allowing you to monitor your flock via your smartphone or computer.
4. High-Definition (HD) Quality
For clear, detailed images, especially when observing your chickens’ health or spotting predators, opt for a camera with HD capabilities. A high-definition camera will allow you to zoom in on certain areas without losing clarity.
5. Motion Detection Alerts
Some chicken coop cameras come with motion detection features that send you notifications when movement is detected. This is especially useful at night or when you’re away, as you’ll be immediately alerted to any unusual activity around the coop.
How to Install a Chicken Coop Camera

Now that you’ve chosen your chicken coop camera, it’s time to get it installed. Follow these simple steps to set it up for optimal coverage and ease of use.
1. Choose the Right Location
The first step in installing your chicken coop camera is deciding where to place it. You’ll want a spot that offers a clear view of the entire coop and surrounding areas. Ideal places to mount the camera include:
- Inside the coop, facing the nesting boxes (to monitor egg-laying).
- Outside the coop, focused on entrances and exits (to watch for predators).
- High on a wall or pole for a broader view of the yard.
Ensure the camera isn’t blocked by chicken wire or other obstacles that could interfere with the picture quality.
2. Mount the Camera Securely
Once you’ve picked the perfect spot, securely mount the camera.
If you’ve opted for a wireless camera, this process is usually pretty simple. Just use the provided brackets or mounts to attach the camera to a wall or pole.
Make sure the camera is stable and won’t get knocked loose by strong winds or curious chickens.
For wired cameras, you’ll need to run cables from your house to the coop, which may require some additional work, such as digging trenches to hide the wires underground.
3. Connect the Camera to Your Wi-Fi
Most modern chicken coop cameras connect to your home Wi-Fi network, allowing you to access the footage remotely.
Follow the manufacturer’s instructions to pair your camera with your network. Ensure that the Wi-Fi signal reaches your coop – you may need to invest in a Wi-Fi extender if your coop is far from your house.
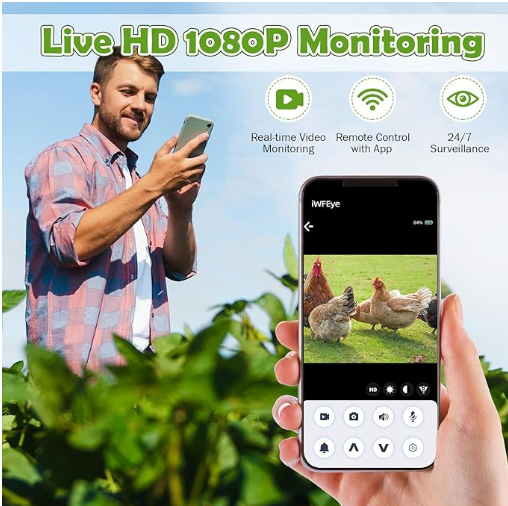
4. Install the Viewing App
To monitor your flock, you’ll need to install an app on your smartphone or computer.
Most cameras come with their own companion apps that allow you to view the live feed, adjust camera settings, and receive alerts. Set up the app and test it out by watching the live stream of your coop.
Best Practices for Monitoring Your Coop
Once your chicken coop camera is up and running, it’s time to make the most of it. Here are some best practices to ensure you’re using the camera effectively:
- Check the footage regularly: It’s easy to forget about your camera once it’s set up, but checking the footage regularly will help you stay on top of any issues that may arise.
- Adjust the camera angle as needed: As your chickens move around and grow, you may need to adjust the angle of your camera to maintain the best view of the coop.
- Keep the lens clean: Especially in outdoor settings, dust, dirt, and even chicken feathers can obscure the camera lens. Regularly clean the lens to ensure clear footage.
- Review alerts quickly: If your camera is equipped with motion detection, make sure to review any alerts as soon as possible to avoid missing any potential threats to your flock.
Maintaining Your Chicken Coop Camera
A chicken coop camera is a valuable investment, so you’ll want to make sure it stays in good working condition. Here are a few tips for maintaining your camera:
- Clean the lens regularly: Outdoor cameras are prone to getting dirty. Wipe the lens with a soft cloth every few weeks to keep the image clear.
- Check the batteries or power source: If your camera is battery-operated, keep an eye on the battery levels and replace them as needed. For wired cameras, make sure the power source is reliable.
- Update firmware: Manufacturers often release firmware updates to improve performance or fix bugs. Make sure to check for updates periodically and install them to keep your camera functioning optimally.
Final Thoughts
Installing a chicken coop camera is an easy and effective way to keep a close eye on your flock, whether you’re concerned about predators, egg-laying habits, or general chicken health.
By choosing the right camera, installing it properly, and maintaining it over time, you can ensure your chickens are safe and sound no matter where you are.
Whether you’re new to raising chickens or a seasoned pro, a chicken coop camera can provide you with valuable peace of mind.